Pneumatic clamps, manual clamps, toggle clamps, swing clamps.
If you are going to be a good designer of weld fixtures and part-holding jigs you must become familiar with clamps and how to use them and modify them.
Often times, when you start to work for a company you will be told which clamps they prefer. But as you delve into designing more fixtures you will soon learn that not all clamps fit all applications. Sometimes, you have to be creative.
Remember that machine design is science, but it is also art. It takes creativity to come up with solutions to tight spaces or welding metals that expand as they get hot.
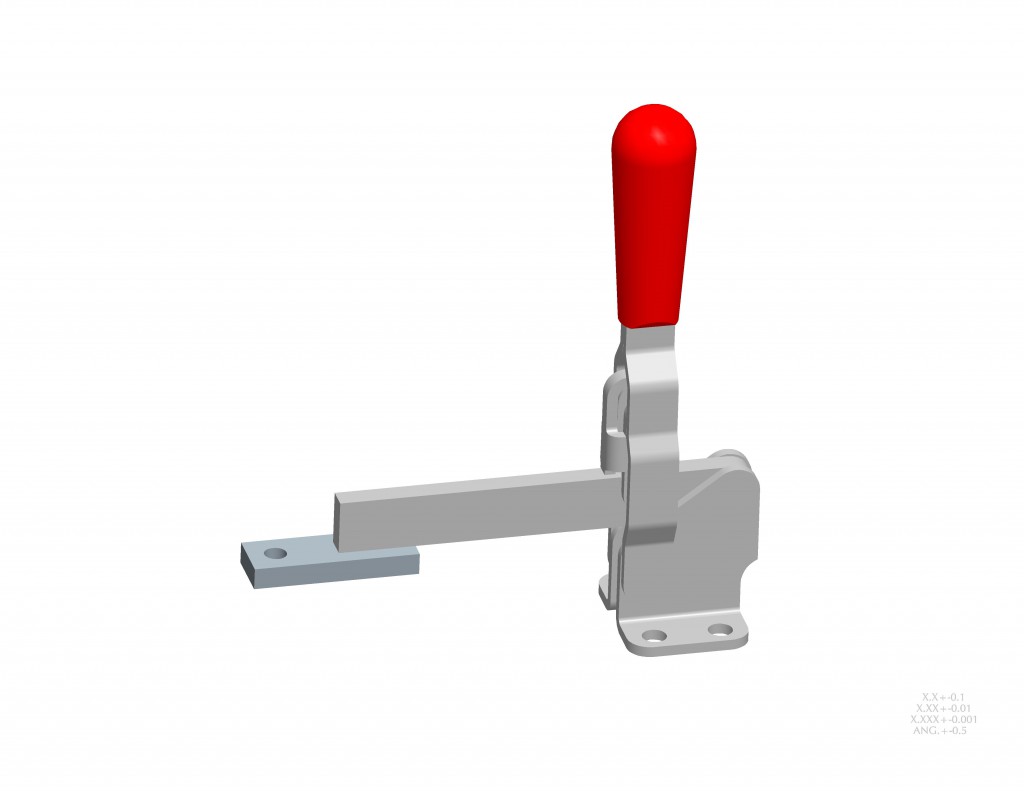
These Swing Clamps can get out of the way in a different arc than many other types of clamps.
Idea #1
Learn what clamps are available to you.
1) Ask a mentor;
2) Peruse a catalog;
3) Search the internet; and
4) Study existing designs….
Idea #2
Welding a block on the end of the clamp is often a good idea.
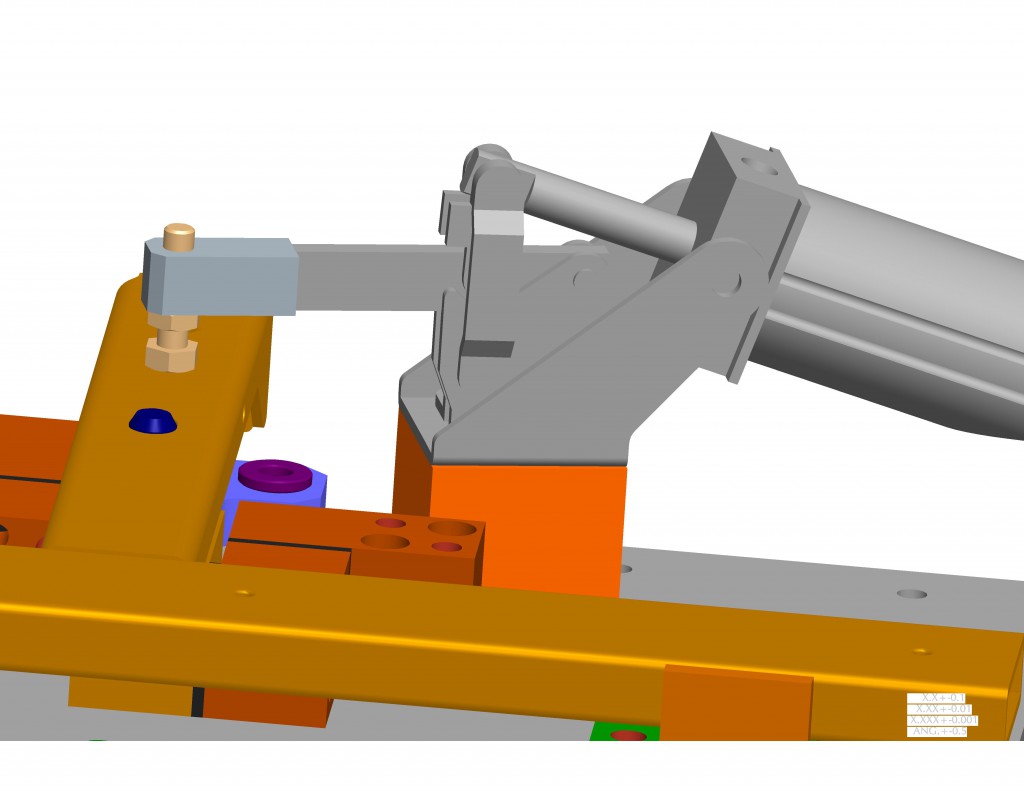 The tapped hole in the block that is welded onto the clamp allows for the use of a simple hex bolt and jam nut for clamping. It also allows you to shorten or lengthen the swing arm.
In this picture the clamp is clamping down between two locating pins with shoulders. The product part rests on the shoulders of the pins. The clamp presses down between the two pins. Notice the Orange RAPid Blocks and RAPid Shims that are used to fine-tune the location of the pins and therefore the product part in this fixture.
Idea #3
Where you weld the block can make a difference.
This manually operated Toggle Clamp has a plate welded below the arm. This changes the swing clearance and also allows more room for a weld gun to come down from the top.
This clamp, mounted to a RAPid Riser, has a block welded to the top of the swing arm. Allowing the clamp to sit lower in the fixture, keeping it within the space parameter requirements for the weld fixture.
Idea #4
Sometimes two product parts can be clamped with one clamp at the same time.
Another view of the two-part clamp weldment.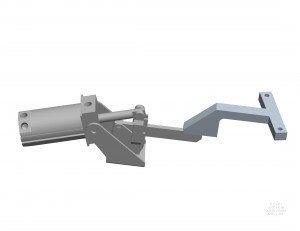
Idea #5
Sometimes one clamp can be used to hold parts in a fixture that runs more than one product.
Here holding the yellow product part. 
And here 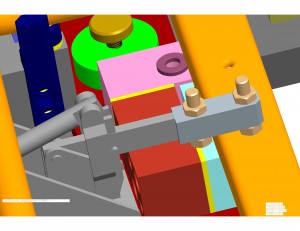 holding the orange part. We call this a “change-over-fixture”. It is used for more than product line, or similar but different product parts.
Idea #6
The welded block on the end of the clamp arm can help you go around the corner …
 or clamp at a different angle than the clamp is mounted.
Idea #7
Sometimes a square tube can be clamped at an angle.
In this image the green square tube is pressed against the two “crowned” or round rest pads. Notice the rest pads have yellow shim packs under them. The clamp also has shims under it. The clamp pressure can’t be so much that the square tube becomes deformed when clamped. The shims under the clamp as well as the set screw in the clamp arm will help adjust the amount of pressure on the tube.
Idea #8
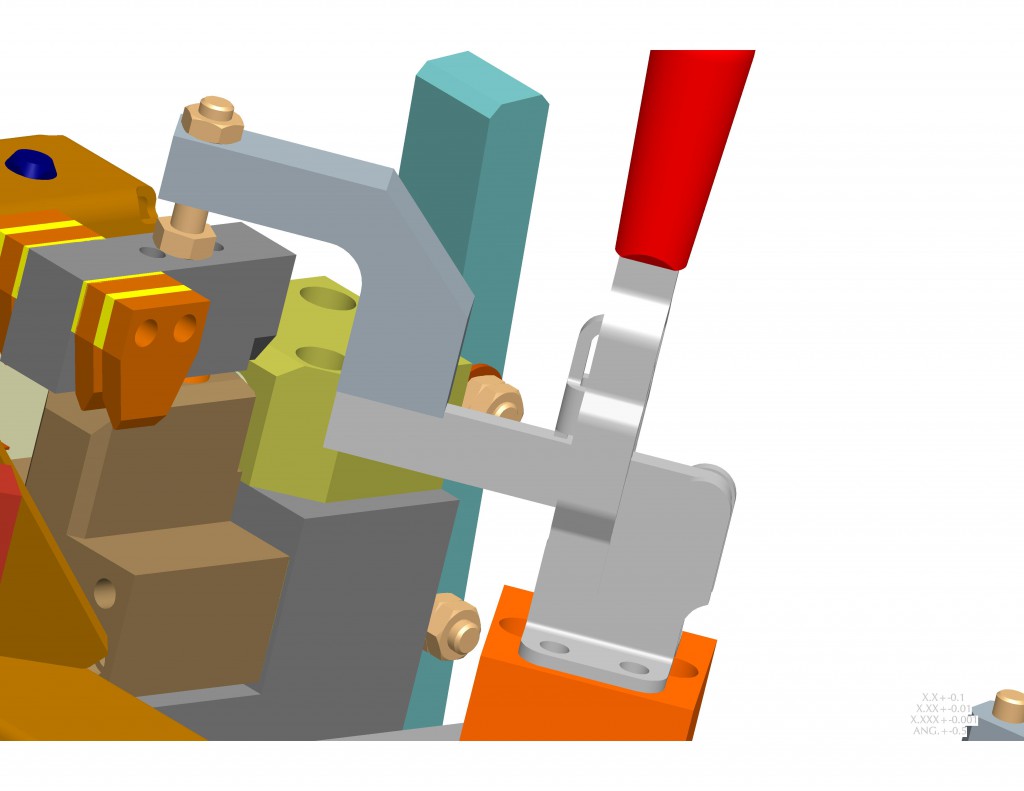
Use a “finger clamp” when needing to clamp close to the joint to be welded.
Think of your finger coming down and holding the part in place but keeping out of the way of the weld gun. The finger clamp is not welded to the clamp arm, instead it is fastened to the clamp by a shoulder screw and two jam nuts. At the top and back of the finger arm is a set screw and jam nut used to adjust the amount of clamping pressure. Fingers should be harder material or be treated to resist weld splatter. Rentapen usually makes the fingers out of A2 and heat treats them.
Idea #9
Test the swing and clearance and trim or adjust as needed.
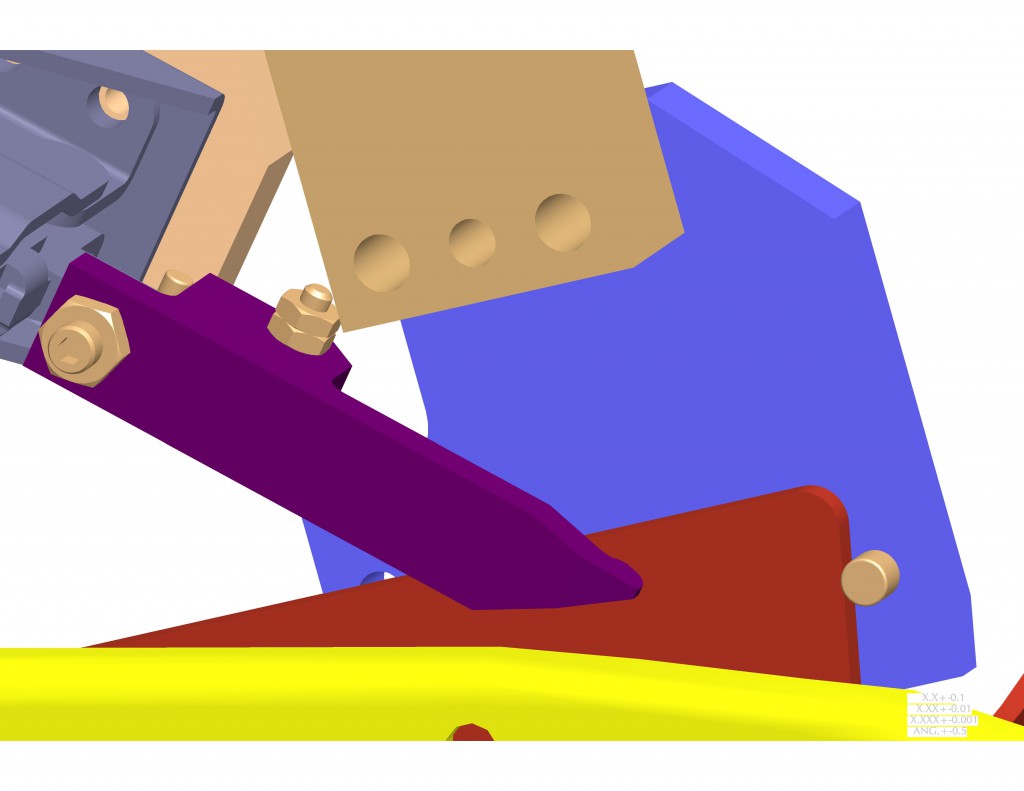
With CAD it’s so easy to visualize the swing of the clamp arm.
This purple finger clamps the small plate but has to clear the yellow plate and the weld gun.
Idea #10
Think operator safety.
With automated clamps you need to keep the operators fingers out of the way, so put in two-handed controls.
Idea #11
Keep your eyes and mind open to new ideas.
Attend a trade show, do a google search, talk to other machine designers, tour factories. SME chapters hold tours and have tons of education available as well as networking opportunities.
I am sure, once you start your brain thinking and creating, you will have some ideas too. Share them with me and I will include them in a future lesson.
For Fun
Watch some clamps in action with these youtube videos.
‘Til Next Time,
The Queen of Lean Machine Design
5 Responses to “11 Ideas for Clamping Product Parts in Weld Fixtures”






It wolud be appriciated if you show how to calculate the force required to clamp the object for welding. I guess that would be the most important parameter of the fixture design
Good suggestion! I will address this in an upcoming blog.
WE ARE FACING PROBLEMS DURING M S SHEETS WELDING.WE ARE NOT ABLE TO PREVENT THE DISTORTION OF THE SHEET AFTER WELDING.IT HAPPENS IN TRUCK BODIES.
A similar question came up and I posted it on linked in. I got some great feed back on the issue. I shares some comments in a blog. http://035b3ac.netsolhost.com/weldfixtureblog/2012/08/07/mining-the-welding-world-for-information/
There were several suggestions, like weld both sides at one time, tack weld it first, heat sinks, etc. I am not an expert on welding. Some weld distortions can not be addressed with fixturing. Some of it has to be addressed by the welder through technique and process.
We often use straight cylinders for clamping. Either by adding a button to the end of the rod. Or, by attaching it to some sort of lever or slide. This also doubles as a method for locating or pinning a detail.