If you are a beginning Machine Tool Designer, CAD Drafter, or Engineering Student you will most likely find the slide show and video here of interest. Both the video and slide show demonstrate a how to adjust the location of your production parts in a fixture by using shims and RAPid Tooling Components. Watch and then add your two questions and wisdom on what you see in this two simple weld fixtures or weld templates.
CHANGE OVER FIXTURE
First the video. The fixture in this video holds a long round part with a hole that is the “start position” and some thin plates that have to be a certain distance from that center hole. This fixture could be a stand-alone fixture, or part of a larger weld fixture.
This is a change-over fixture. What that means is they run parts “A” for a while, and then they use that same weld cell table to weld parts “B”. Or if this is a sub-assembly (meaning part of a bigger fixture). They might have two models that a similar. Like two chairs. One taller than the other. They weld together the shorter style for a while. Then they remove that sub assembly and put on the sub-assembly that holds the part of the taller chair that is different. They do this by lifting this whole fixture out of the cell and placing a different one it’s place.
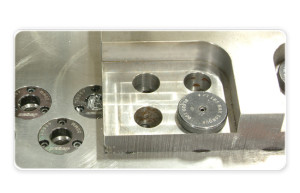
Both fixtures have Speedlocs in the same locations to ease the change-over.
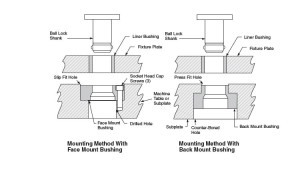
Jergens also makes a precision fast-change item that uses ball locks. We have found that the balls on the Jergens shaft tend to get dirty in the factory and stop working. However, the Speedlocks have a much longer delivery time. So if you are in a hurry to get your fixture put together, order the Speedlocks early. If you decide to use the Jergens items, order a repair kit with them, so you will be prepared if they decide not to function properly.
Mentioned in the video is using a shoulder screw as a pivot rod. There are more pointers for using shoulder screws in a previous post on weld fixture design 101.
Next the slide show that shows a small part of a larger weld fixture.
Design your fixture to hold each individual part. Remember to Touch the part where the dimensions in the finished welded product are critical. It is best to design in adjustment with shims if your finished product has critical dimensions (interpret as low tolerance variation) between the separate parts being welded together. Then, once you have the tool built you can weld a few pieces and see if they fit the tight specifications. If not, it is easy to adjust with shims.
FOR FUN
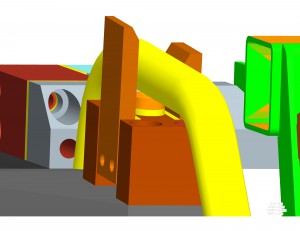
I found a nice little video showing the threaded bolt retainers that are welded onto clamp arms. We also do this with our clamps.
’til next time,
The Queen


